Gluten Free Red Velvet & Cheesecake Swirl Cupcakes with Cream Cheese Frosting
Gluten Free Red Velvet & Cheesecake Swirl Cupcakes with Cream Cheese Frosting
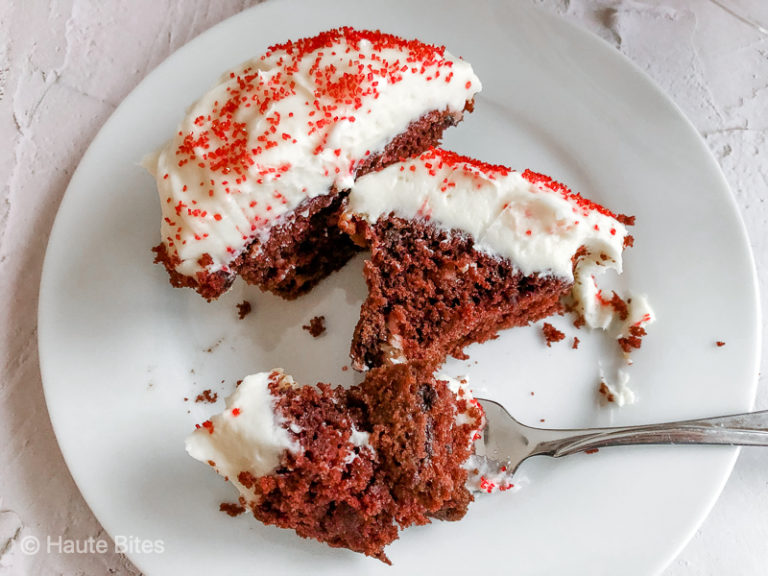
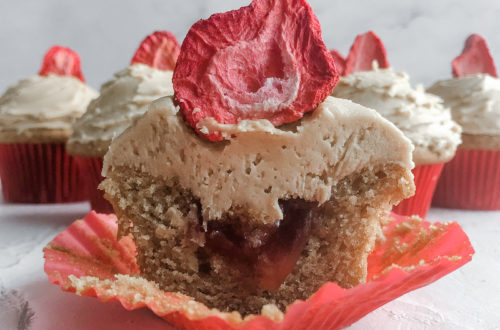
Tender cake, creamy and chocolatey cheesecake swirls, and the best cream cheese frosting make these the perfect red velvet cupcake.
Ingredients
Cupcakes
- 1½ cups King Arthur Flour Gluten-Free Measure for Measure Flour
- ¼ cup cocoa powder
- 1 teaspoon baking soda
- 1 cup granulated sugar
- 1 cup buttermilk or 4 tablespoons Saco Buttermilk Blend powder and 1 cup water room temperature
- ⅓ cup vegetable oil
- 1 tablespoon white vinegar
- 1 teaspoon vanilla extract
- 1 egg room temperature
- red sprinkles if desired
Filling
- 4 ounces cream cheese softened
- ¼ cup granulated sugar
- 1 egg room temperature
- ½ teaspoon vanilla extract
- ½ cup mini chocolate chips
Frosting
- 12 ounces cream cheese softened
- 8 tablespoons unsalted butter room temperature
- ¾ teaspoon vanilla extract
- 2 cups confectioner's sugar sifted
Instructions
For the Cupcakes
- Preheat your oven to 375°. Line a 12 cup muffin tin with muffin liners.
- In a large bowl or the bowl of an electric mixer fitted with the paddle attachment, combine dry ingredients, sugar, and buttermilk powder, if using. Add remaining ingredients and mix on low speed to incorporate dry and wet ingredients. Increase the speed to medium and mix until just combined, about 1-2 minutes.
- In a separate bowl, combine cream cheese and sugar and mix using a hand mixer until light and fluffy. Add egg and vanilla extract and mix until well combined.
- Pour in mini chocolate chips and fold in using a rubber spatula.
- Fill lined muffin wells with ⅓ cup of the batter. Add 2 teaspoons of cheesecake batter and then top with remaining cupcake batter.
- Bake cupcakes in preheated oven for 20-25 minutes, or until a toothpick or cake tester inserted into the center comes out clean or with just a few crumbs.
- Let cupcakes cool in pan for 10 minutes, then remove and cool to room temperate on a wire rack.
For the Frosting
- While the cupcakes are cooling, beat the cream cheese, butter, and vanilla extracts in a large bowl until mixture is smooth.
- Add the confectioners’ sugar ¼ cup at a time and mix until smooth after each addition.
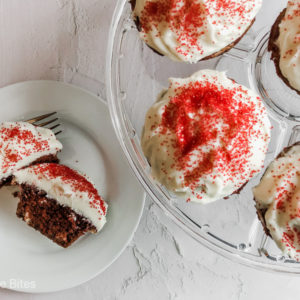
- Using an ice cream scoop, place about 1 scoop of frosting on each cupcake. Smooth with a knife or offset spatula. Top with red sprinkles, if desired. Cupcakes can be stored in the refrigerator, wrapped tightly for about 5-7 days.
Notes
- I recommend using Saco Buttermilk Blend powder instead of actual buttermilk. I find that it adds more volume and flavor than regular buttermilk. Plus it stores for much, much longer in the fridge so you get more bang for your buck!
- Make sure you don’t fill the cupcake wells too full when you portion out the batter. Fill only 1/3 full, then top with the cheesecake filling, then remaining batter. You can swirl the batter and cheesecake together with a toothpick, but sometimes I just leave it as is and bake. Both ways taste delicious!
- You will most likely have a little bit of the cheesecake filling left over once all the cupcakes have been filled. Don’t worry! This is normal as you don’t want to overfill the cupcakes. Overfilling will create a longer baking time and much drier cake.


You May Also Like
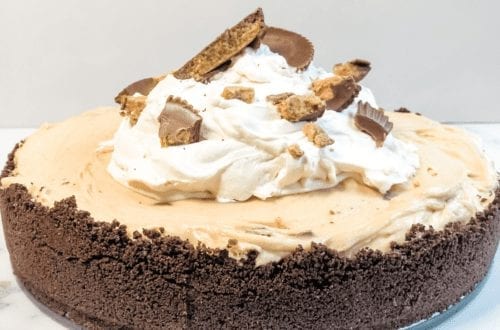
Gluten Free No-Bake Peanut Butter Cup Cheesecake
Gluten Free Peanut Butter & Jelly Cupcakes