Gluten Free Peanut Butter & Jelly Cupcakes
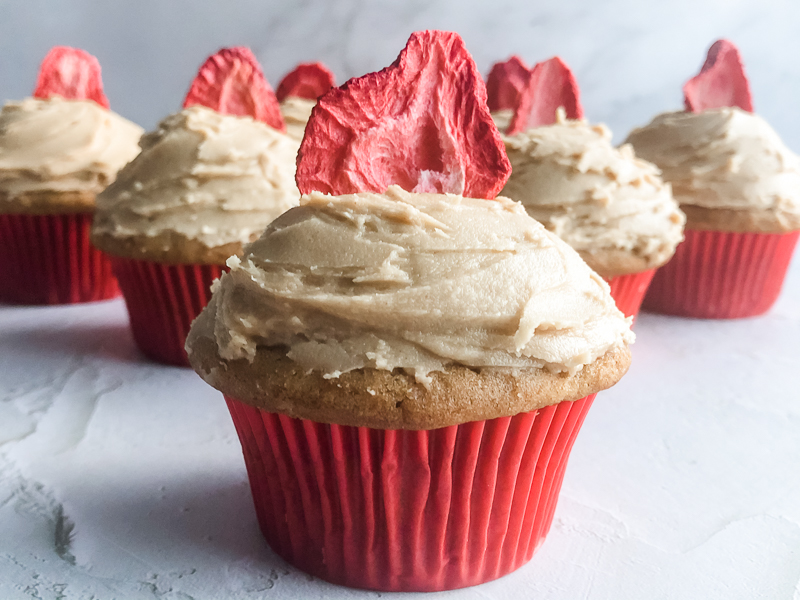
Gluten Free Peanut Butter & Jelly Cupcakes
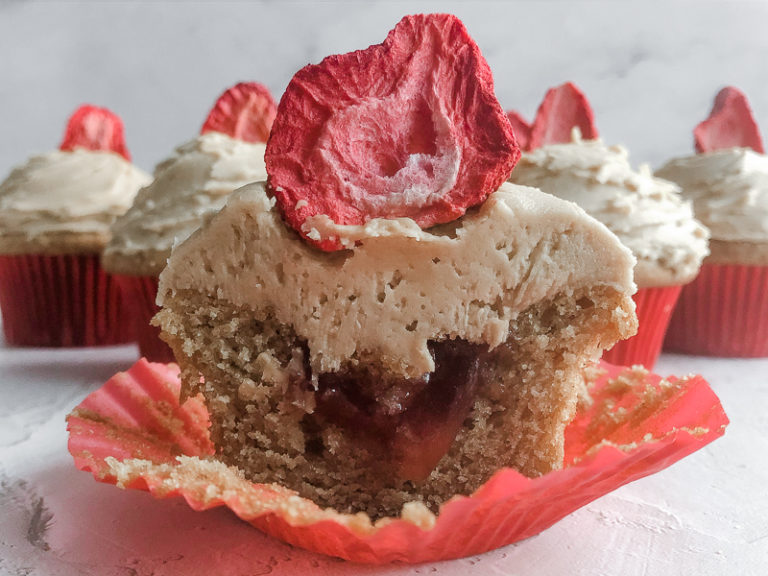
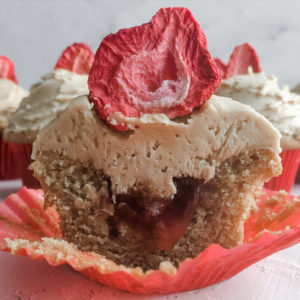
Tender peanut butter cake, slightly sweet and tart strawberry jam, and the BEST peanut butter buttercream make these Gluten Free Peanut Butter & Jelly Cupcakes a delightful treat for adults and kids alike.
Ingredients
Cupcakes
- ½ cup unsalted butter room temperature
- ¾ cup granulated sugar
- ¾ cup brown sugar packed
- 2 eggs room temperature
- ½ cup smooth peanut butter
- 1 teaspoon vanilla extract
- 1 cup milk
- 1 teaspoon baking powder
- 1 teaspoon baking soda
- ½ teaspoon kosher salt
- 2 cups gluten free 1:1 flour I recommend King Arthur Gluten-Free Measure for Measure Flour
- 1 cup seedless strawberry jam stirred so it is smooth and pourable
- freeze dried or fresh sliced strawberries to garnish if desired
Frosting
- 1 cup unsalted butter room temperature
- 1 ½ cups smooth peanut butter
- 4 cups confectioner's sugar
- 4 tablespoons heavy cream
Instructions
For the Cupcakes
- Preheat your oven to 350° and line a 12-cup muffin tin with cupcake liners. Line a second pan with 6 liners - this recipe makes 18 cupcakes. Set aside.
- Whisk flour, salt, baking powder, and baking soda together in a small bowl.
- In a large bowl or the bowl of an electric mixer fitted with the paddle attachment, combine the butter and sugars and beat until light in color and fluffy.
- Add eggs one at a time, scraping down the bowl in between each addition. Add peanut butter and vanilla and mix until just combined.
- Next add half the dry ingredients and mix until just combined. Then add the milk and mix briefly. Finally, add the remaining dry ingredients and mix until just combined.
- Using a ice cream scoop, fill cupcake liners about ¾ way full with batter. Bake for 25-20 minutes, or until a toothpick inserted into the center of the cupcake comes out clean. Allow cupcakes to cool 5 minutes in the pan, then transfer to a wire rack and cool completely before filling and frosting.
For the Frosting
- In a large bowl or the bowl of an electric mixer fitted with the paddle attachment, combine butter and peanut butter until well combined.
- Slowly add the powdered sugar, about ½ cup at a time, until well combined and smooth. Add heavy cream and mix well. Use a spatula to scrape down the sides of the bowl to ensure everything is combined and to get any air bubbles out of the frosting.
To Assemble the Cupcakes
- After the cupcakes have cooled completely, insert a small, sharp knife about half way into the center of each cupcake. Core out a small circle (about ¾") in the center of the cupcake. Remove the cake core and set aside.
- Gently pat down the cake in the center of the well you made in the cupcake. This helps keep the jam from soaking in to the cake too much. Place roughly 2 tablespoons of the stirred strawberry jam in the center of each cupcake. Top each filled well with it's cake core and press down slightly (this prevents the buttercream from sinking into the jam filling). Some of the jam may come out on top, but don't worry as it will be covered in buttercream.
- Using an ice cream scoop, place on scoop of peanut butter buttercream on each cupcake and smooth out with a knife or offset spatula. If desired, garnish with freeze dried strawberries or sliced fresh strawberries (if in season).
Notes
- Store cupcakes loosely covered with plastic wrap for 2 days at room temperature, or up to 4 days in the refrigerator. Let come to room temperature prior to serving if stored in fridge.
- Be sure to stir the strawberry jam well so that it’s a pourable consistency. Don’t heat the jam up as this would cause it to absorb into the cake, which you don’t want it to do.
- Make sure to buy seedless strawberry jam as well. If you can’t find seedless, push the jam through a fine mesh sieve or strainer to remove the seeds before filling your cupcakes.
- When cutting out the center of the cupcake, be sure to only insert your knife halfway into the cupcake. You need a little cake in the bottom to pack down to ensure the jelly doesn’t leak out.


You May Also Like
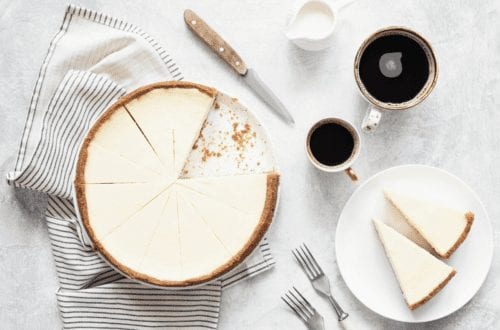
Gluten Free White Chocolate Cheesecake
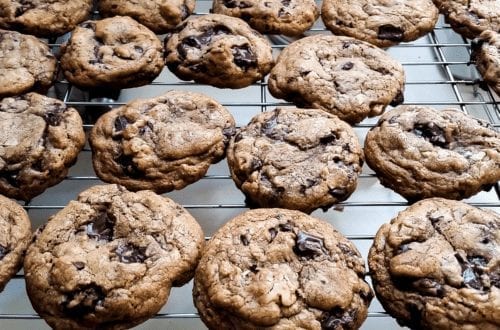
Gluten Free Toffee Chocolate Chip Cookies